Making of 'Lazy Afternoon: Looking for Sleepyhead'
1. INTRODUCTION
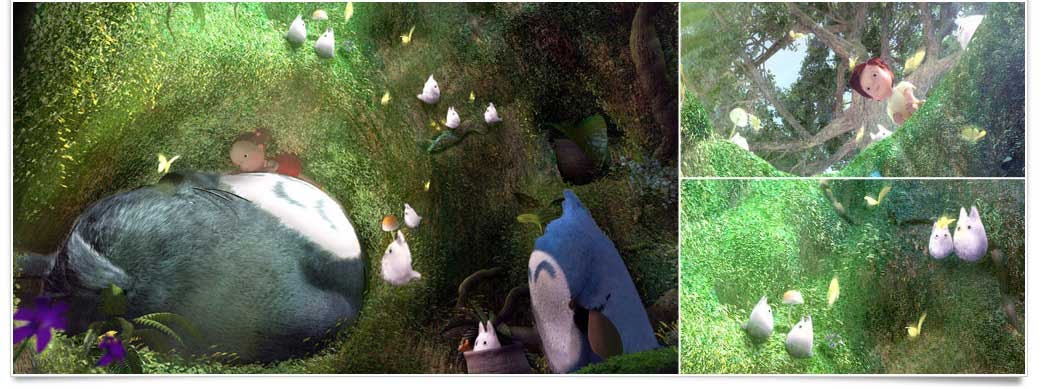
My Neighbor Totoro is one of the best animated film, with captivating visuals, detailed scenery and a distinctly nostalgic tone. The Idea for 'Lazy Afternoon...' is from one of the famous scenes in the movie where Mei discovers the Totoros' cave and unafraid, falls asleep in Totoro's belly. That particular scene evokes a peaceful and gentle feeling that I try to capture and translate into a 3D image.
2. MODELING AND TEXTURE
The main elements of this scene are the characters and the environment (tree cave). So I divided the modeling step into two parts. The reason is that I used different modeling and texturing process for the characters and for the environment. Software used were Zbrush, 3ds Max and Photoshop.
Characters
When I started modeling the characters, I tried to keep the cute essence of the original character. So I created them in a way that still resembles their 2d counterparts.
Totoro
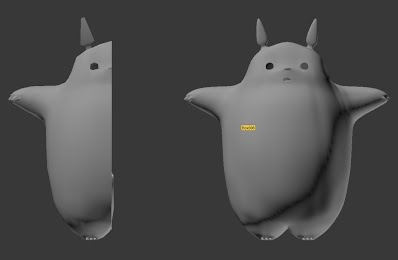
I created the Totoro model starting with the box primitive converted to a polygon. I only modeled half of the figure in T-pose and just applied a Symmetry modifier later for the other half. To achieve the basic shape of Totoro, I used some of the usual tools like Extrude and Connect, and then I have to move vertices and segments to get a rounder look. After that, I applied the Symmetry and the Mesh Smooth modifier. At this point, though the figure resembled the character, I still needed to further modify it in Zbrush. So I created a copy of the Totoro, collapsed the stack of modifiers exported in OBJ format so I can import it in Zbrush as a tool.
In Zbrush, subdivide the model so you do a more detailed sculpting. I made some minor sculpting in Zbrush with Symmetry mode on to minimize the work. I tend to use the Inflate, Topology, Smooth brush when sculpting. For Totoro's final pose, I just lowered the arms on the side using the Transpose tool. Though there will be distorted parts while doing this process, it still can be fix with Inflate and Smooth tools. When I was satisfied with the modeling, I exported it again in OBJ format and imported it back in 3ds max.
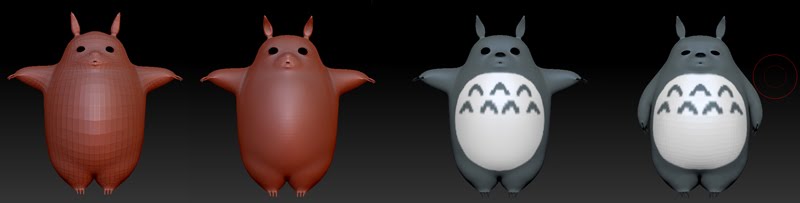
For texturing, I used the Polypaint tool so you can directly paint the surface of the model. At this point the painted texture is a bit rough. So there's a need to enhance it in Photoshop. To unwrap the texture map I used UV Master, a free plugin from Pixologic. After this, I exported the texture in PSD format and edited it in Photoshop for further enhancement. Back in Max, I replaced the default Diffuse map of the model with the edited one. For the fur, I made use of the Hair and Fur modifier in Max. I wont elaborate much of this step, since in my case it's a long series of trial and error because admittedly I am no expert and is fairly new in using this modifier.
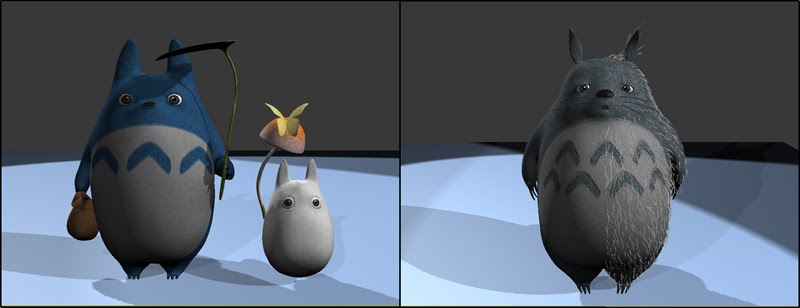
The smaller Totoros are created with basically same process as the large one. The props like mushroom, leaf, and butterfly were also modeled from a box primitive.
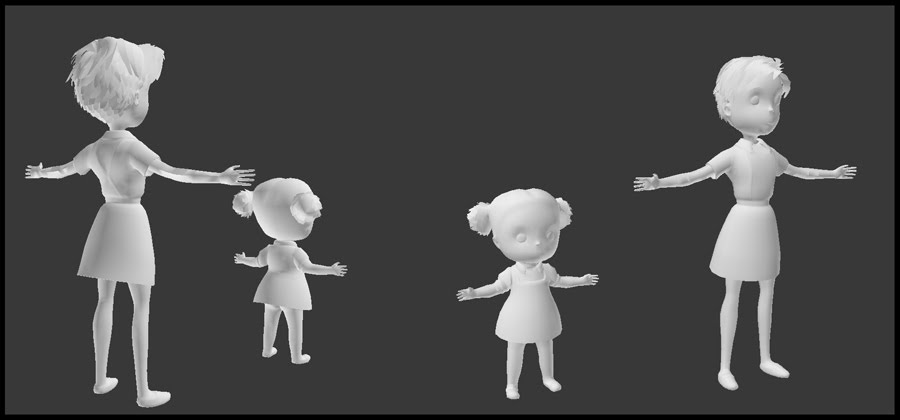
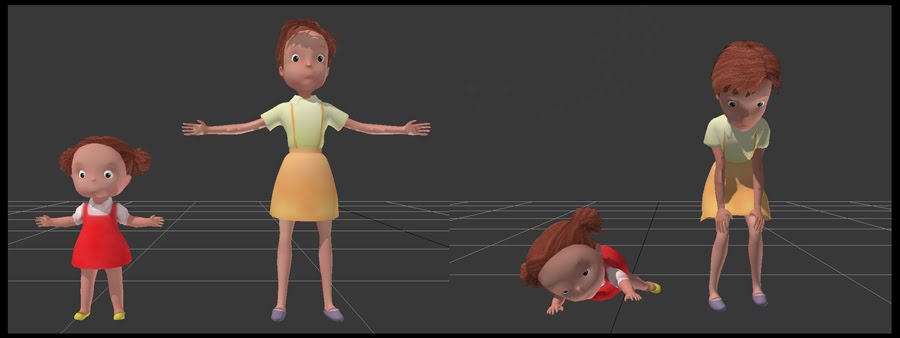
Mei and Satsuki
As for the kids, I started modeling them in Max in the same process as Totoro. I started from box and modeled half the figure, using the same usual tools like Extrude and Connect. When I was done with the basic form of the model, I collapsed the modifier then prepared the model for export. I have to seperate the body parts by Detaching them as objects so that I could work on them individually in Zbrush. Export in obj format and imported it in Zbrush. In this part I did some deformation on the model to achieve the main features of the characters. The textures were created in the same process with Totoro. I then rigged the characters to get them in their respective poses for the scene.
Environment
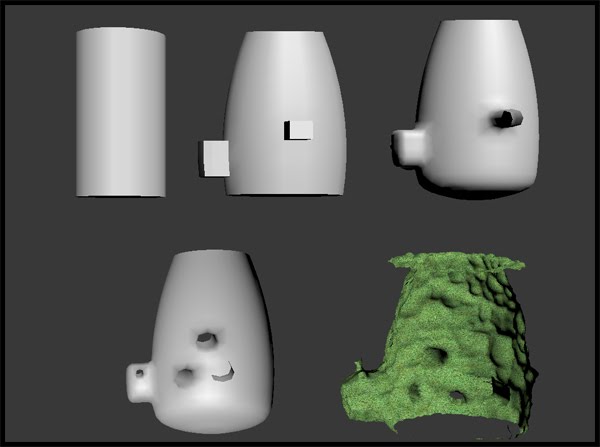
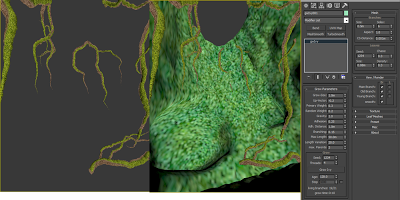
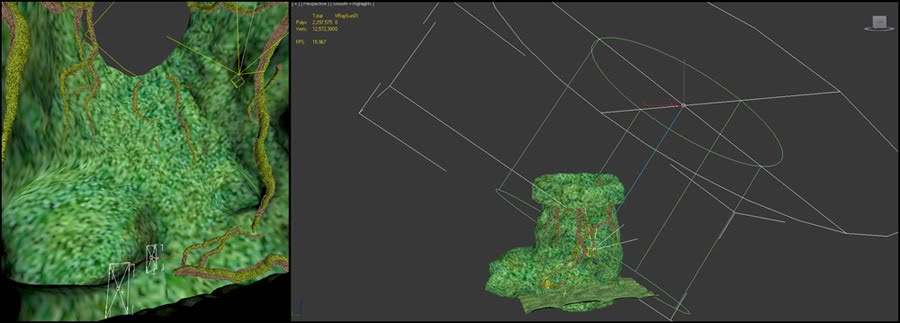
The objects for the environment consisted of the main tree cave, the various plants and flowers covering the cave. The tree cave started from a cylinder primitive, Extruded in some parts for the holes and recesses that is present based from the reference images. To get the detailed look of the inside of the cave, ie the mounds/bulges .I made my own displacement map and applied it as bitmap for Displacement modifier. I then added Taper modifier to the object so my opening at the top is smaller than the bottom and made the model smooth with a MeshSmooth modifier.
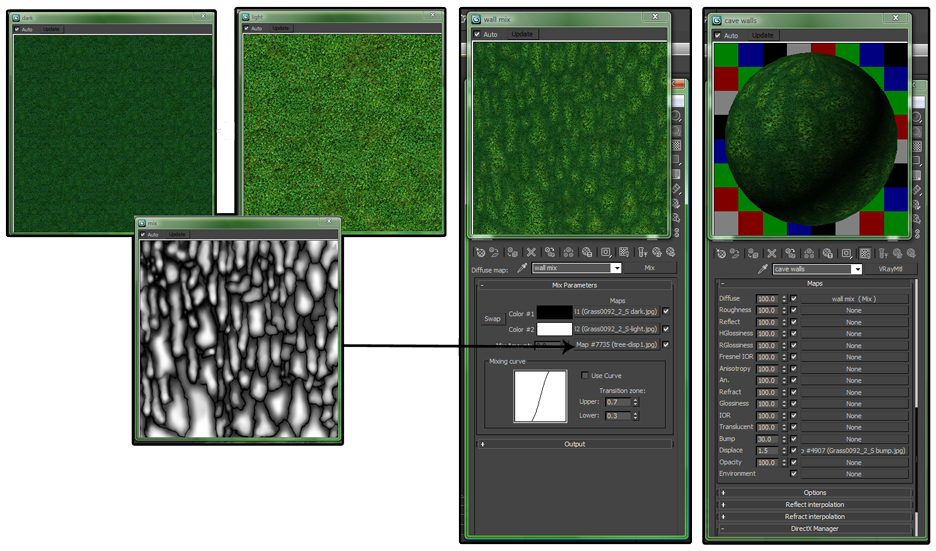
Displacement map
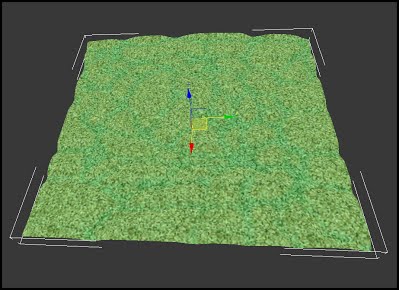
The ground cover was modeled separately starting from Plane primitive. I made another map for the details and added it as bitmap in Displacement modifier.
The textures for both cave wall and ground cover is the same but with different hues, the cave wall has darker green color than ground cover.
Most of the textures I used are free from cgtextures.com. I just mixed a darker and lighter colored grass texture and made my displacement map as a Mix map. This way, the mounds are outlined by darker grass just like in the reference images.
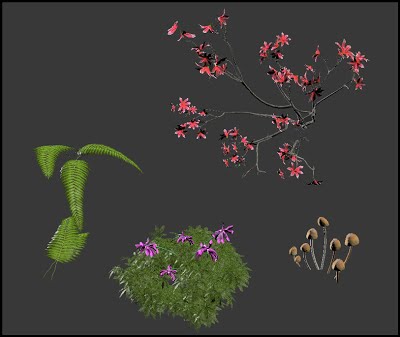
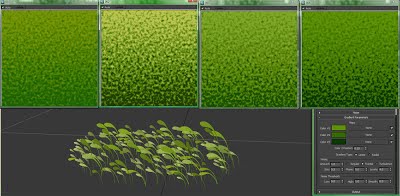
For the ground plants, I modeled three types: clover plant, grass, and moss (short and long). I used a free plugin, Advanced Painter, to distribute clumps all over the ground and the cave wall (except of course the grass in the cave wall, only mosses were painted to the walls). Please refer to Peter Guthrie's simple tutorial on making grass found here: http://www.peterguthrie.net/blog/2009/03/vray-grass-tutorial-part-1/
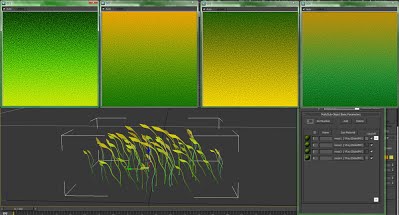
The textures for the plants are made of Gradient Maps with different hues of green and yellow.
The roots are made using another free plugin, Ivy Generator, found here: http://www.guruware.at/main/index.html
The texture is for the roots is a Mix map of a wood bark and moss, mixed using a Gradient ramp. Pelt mapping is also useful when texturing trees with lots of branches. This tutorial is helpful in using the ivy generator: http://cg.tutsplus.com/tutorials/autodesk-3d-studio-max/create-an-ivy-covered-tree-stump-with-3ds-max-ivy-gen-and-vray/
3. LIGHTING
The main light for the scene was a VraySun with additional plane Vray lights inside placed at various places so that more plant details can be seen
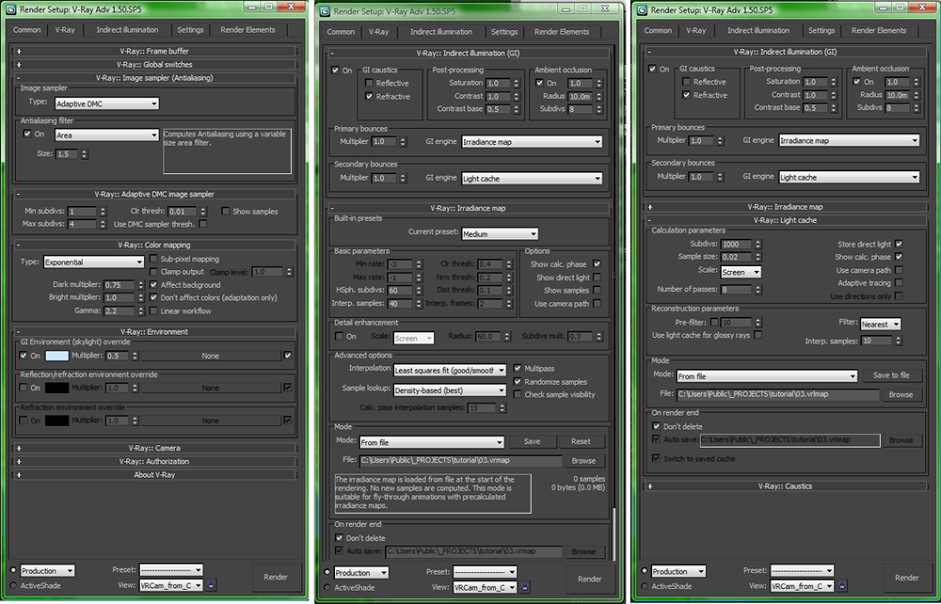
4. RENDERING
Below is a snapshot of our rendering setting for the scene. We have also set our memory limit to 4000MB since we are working on 8GB RAM system.
5. POST PROCESSING WORK
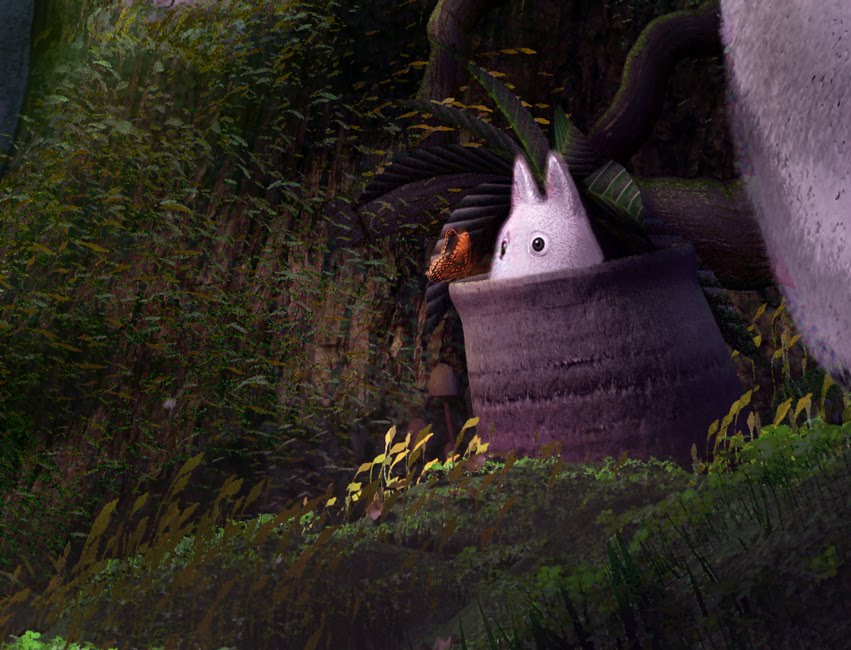
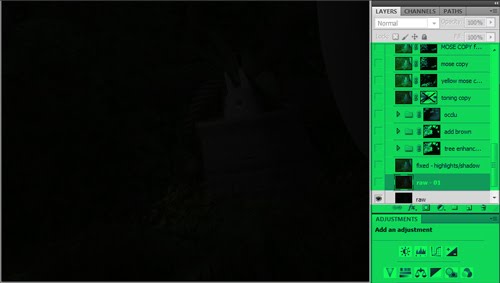
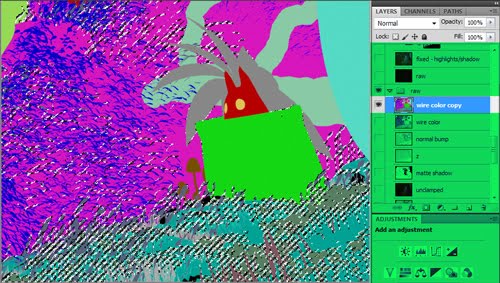
(Img: Raw image)
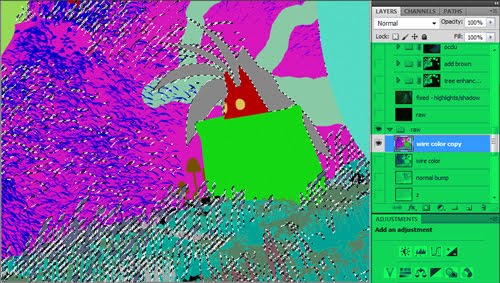
The image above is the untouched rendering output. Thankfully, we saved along some important rendering elements that will help us enhance our image in photoshop. For the scene above, we will only use the final rendering beauty output, wire color and bump normal elements. Prepare them in layers in our image editor.
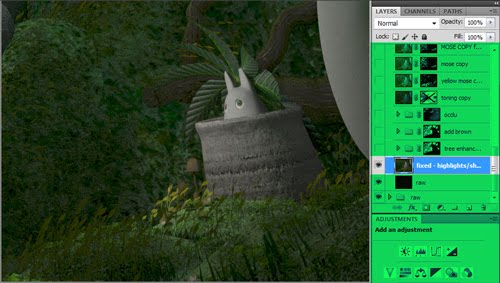
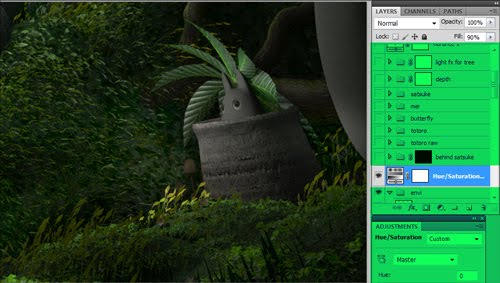
To start, we use 'levels', 'shadow' and 'highlights' adjustment to pull out some colors for our rendering output.
Duplicate the layer and set blending mode to multiply. This will give us more tones/shadows in our image.
Create layer mask and paint out only the areas that needs highlights. Use a soft edge brush to correspond to the current lighting condition.
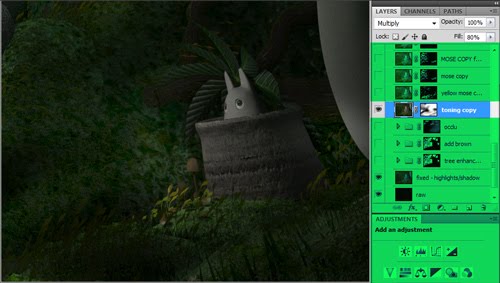
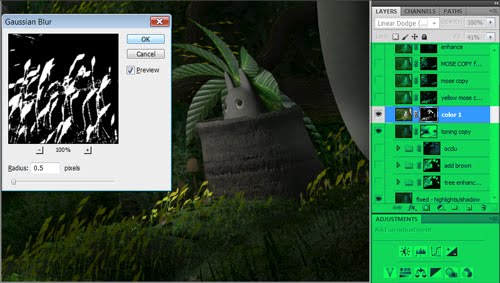
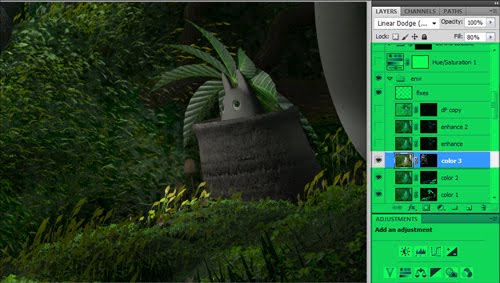
There were moss inside the tree cave that can be enhanced to show more details. Copy another fixed layer for the moss. To select the details, we use the wire color layer from elements. Selection was converted to mask the moss layer.
Apply Gaussian Blur filter to soften the masked edges.
Set blending mode to Linear dodge and adjust the fill. Here is the result:
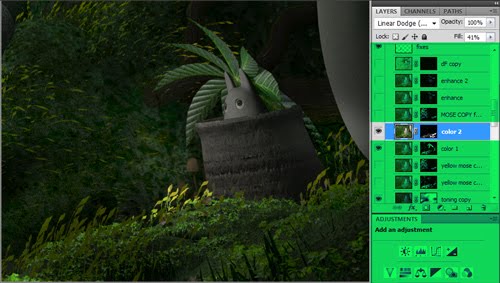
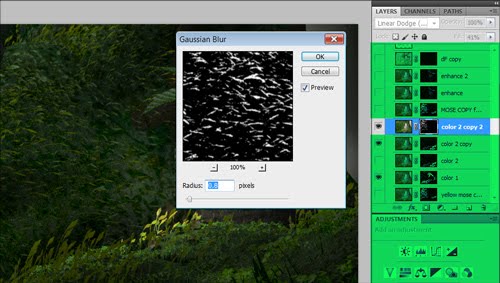
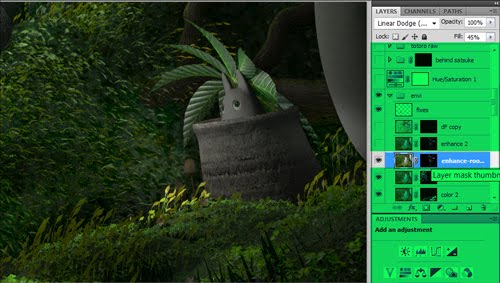
There were details in the ground that also need enhancement, the same process was applied. Copy another fixed layer for the ground details. Create a mask with the help of wire color element layer.
Set blending mode to Linear dodge and adjust the Fill. Edit the mask to hide some details using a soft edged brush and here is the result:
Other than Blur filter, you can use Level adjustment to edit your mask edges.
Here is the overall result.
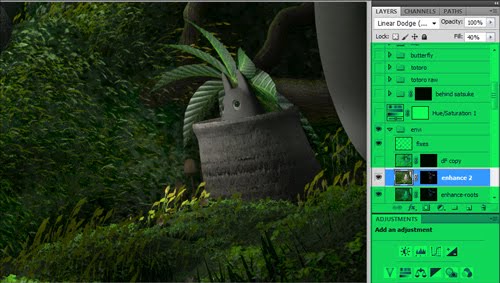
The roots present were enhanced with the same process.
To make it more noticeable, we simply duplicate the roots layer, set blending mode to Linear dodge and adjust the Fill until it is justifiable.
Saturation was adjusted to settle the colors and make it stand out.
Here is the result:
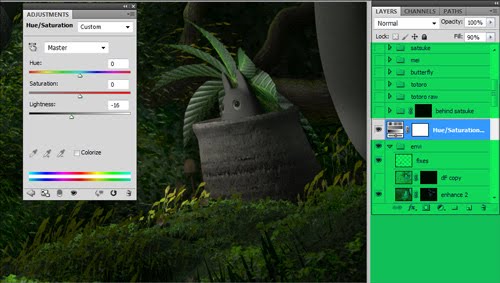
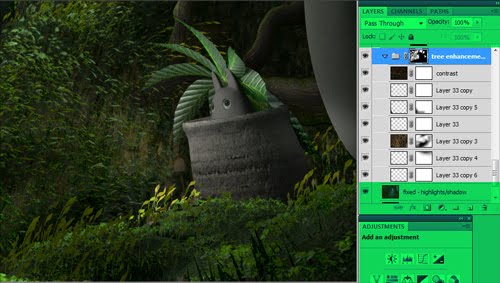
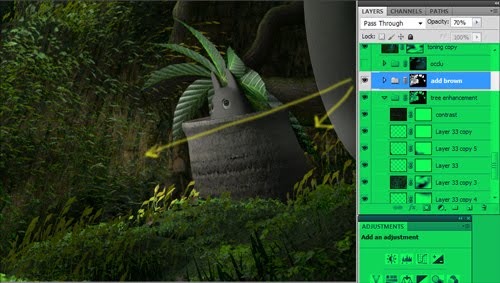
We need to emphasize that we are inside the tree and not below the ground or beneath the tree, so we add a bark texture to the inside walls. Wire color was used for selecting the tree wall.
Double the bark layer so we can clearly see it.
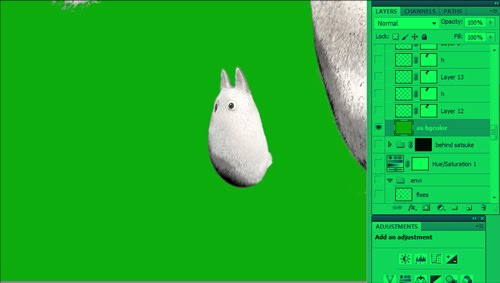
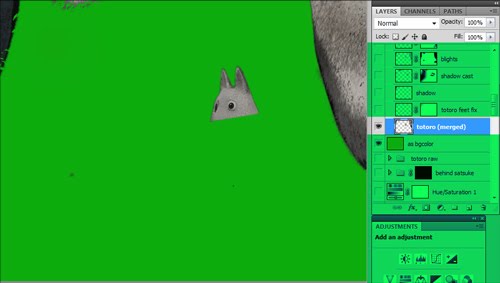
Characters having fur were rendered separately from the environment.
We used Wire color layer and Masking to crop the characters and add the fur.
The contrast, tone and shadows of the fur was enhanced using Adjustments to show it more clearly.
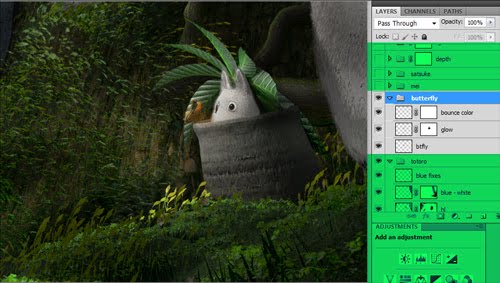
We inserted a butterfly from an image so that the character has something to look at.
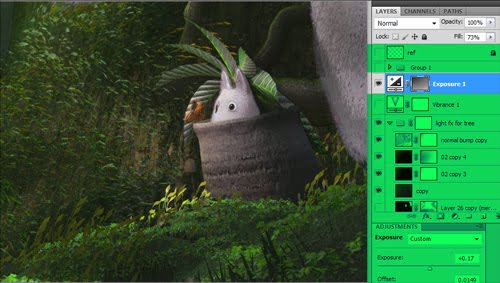
We used Exposure and Vibrance Adjustments as final enhancements to the whole image.
Thank you for reading and we hope you get inspired to make your own 3d image.